Creating a Solr Core
When installing Solr for the first time on your web server, you will need to create a Solr core. This topic assumes you have already completed the following steps in regards to the installation of Solr on your KommerceServer web server.
- Install Java on your web server (you can skip this step if Java is already installed).
- Install version 5.4.1 of Apache Solr.
- Create a core directory on the Apache Solr UI.
- Copy core configuration files to your Solr directory.
- Update the db-data-config file with your database connection information.
- Start Solr from the Solr/bin directory.
Perform the following steps to create a Solr core.
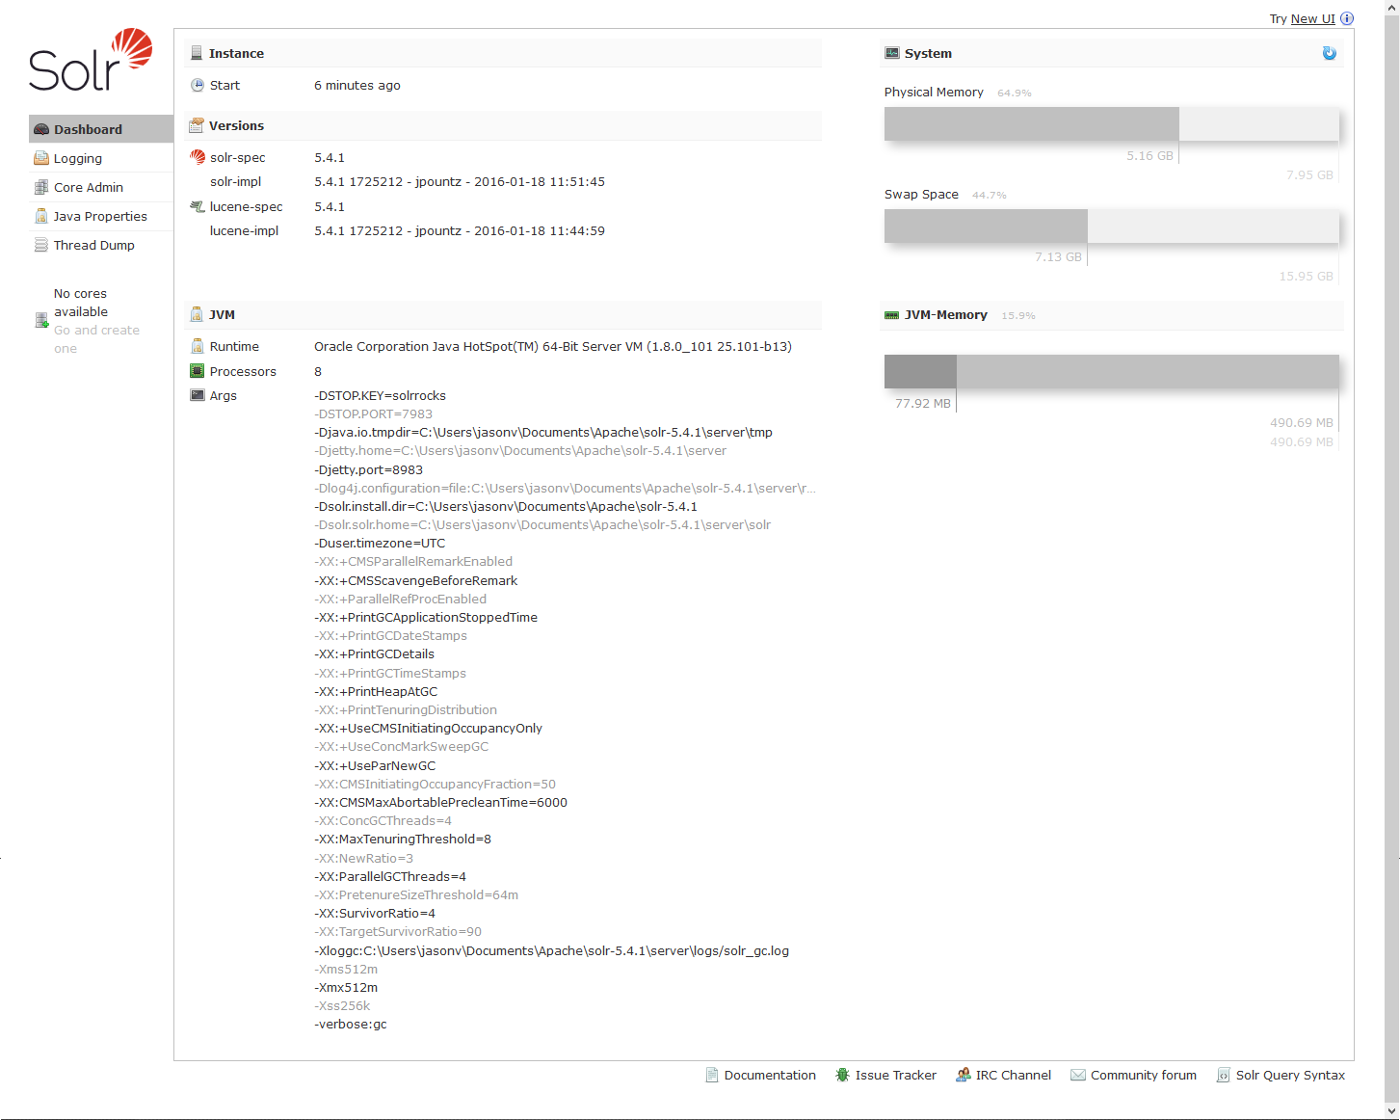
- Open a web browser and navigate to your Solr admin website at the following URL: http://localhost:8983/solr/#/ The Solr Administration website appears.
- Click the Core Admin link in the left pane. A core definition dialog appears.
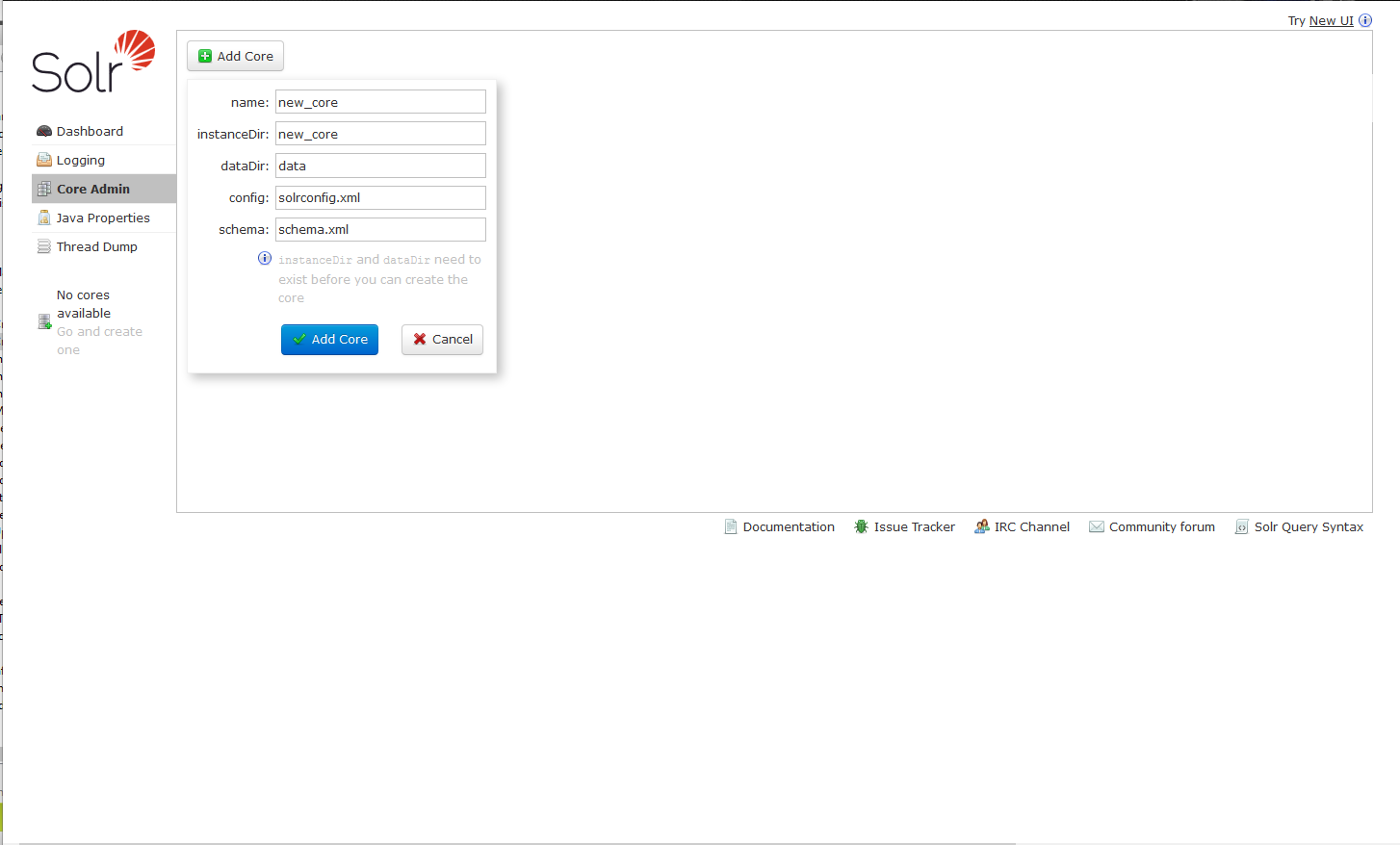
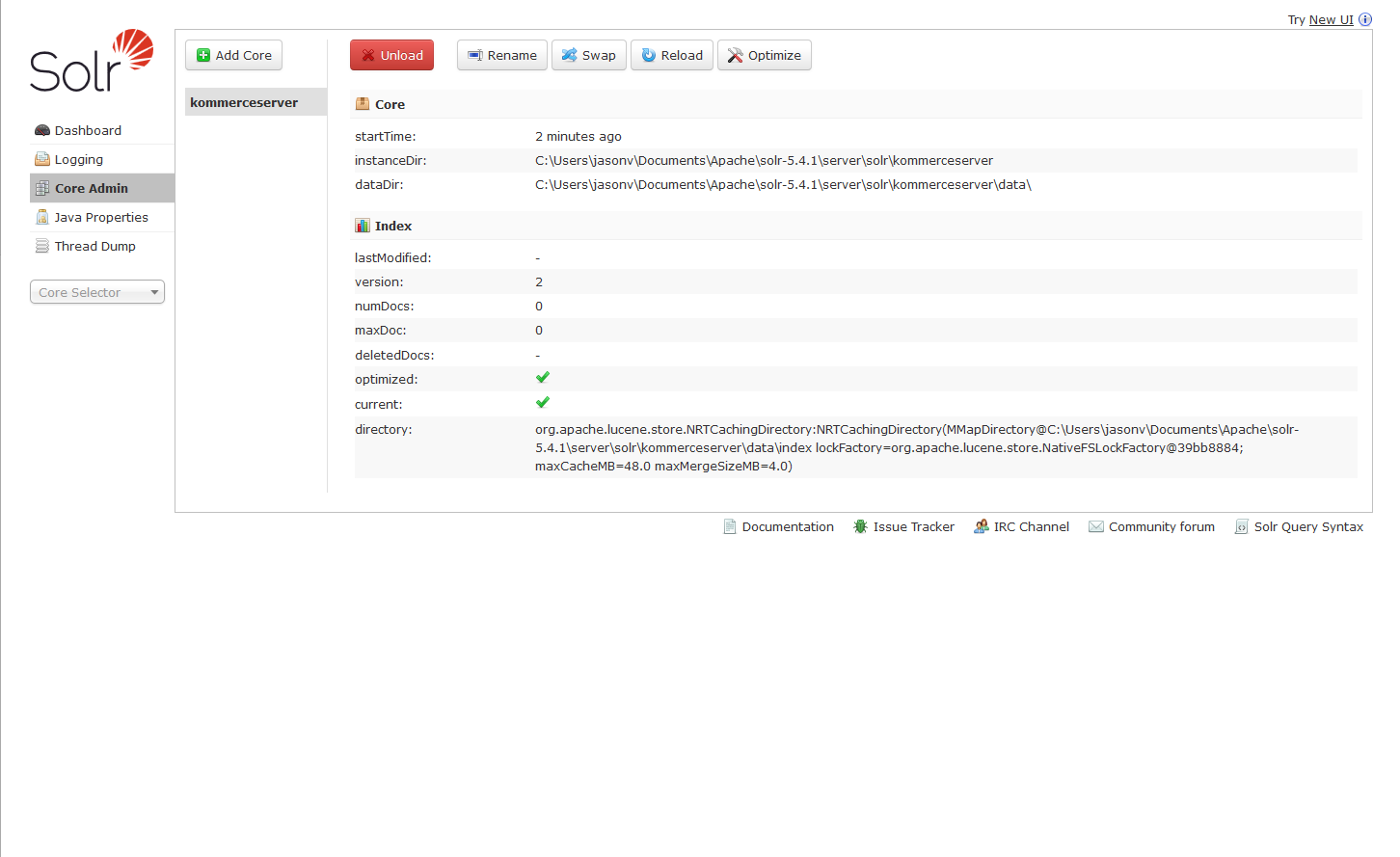
- Type kommerceserver in the Name field.
- Type kommerceserver in the instanceDir field.
Leave the config and schema fields as-is.
- Click the Add Core button. The new core is created.